参考视频【一小时带你从0到1实现一个SpringBoot项目开发】
本文针对该教程分享一些自己的理解,不重复粘贴具体的代码等
基本结构

Controller即api层,定义api接口路径以及对应的service方法–>
Service方法里再调用DAO层的方法 –>
DAO层里的方法可以直接操作数据库,通过 ORM 映射实现数据库中数据到java实体的转换,其中repository类里自带一些增删查改方法
可在start.spring.io中自动生成代码demo,了解springboot基础架构
controller层
主目录新建controller类,在其中通过GetMapping注解可实现api例如:
package com.example.demo;

import org.springframework.web.bind.annotation.RestController;
import org.springframework.web.bind.annotation.GetMapping;

@RestController//Rest API 注解
public class TestController {

    @GetMapping("/hello")//意思是通过get请求/hello路径
    public String hello() {
        return "hello world";
    }

}
此时启动程序,访问127.0.0.1:8080/hello调用api即会返回hallo world
数据库
这里直接在这台云服务器创建数据库demo,新建student表
CREATE TABLE student(
id INT AUTO_INCREMENT PRIMARY KEY,
name VARCHAR(50) NOT NULL,
email VARCHAR(100) NOT NULL,
age INT
);
AUTO_INCREMENT:自动递增 PRIMARY KEY:主键
DAO层
要操作这个表,在主包下新建dao包表示Data Access层,下面新建StudentRepostory接口以及Student类来接受数据库映射的数据,student类里写上表对应的字段以及get,set方法,repository里就自动生成方法比如getById()直接可以用来操作数据库,也可自定义sql语句。
Service层
seivice调用repository的方法操作数据库,把返回值按需要处理一下返回给controller
还有一些返回格式规范等
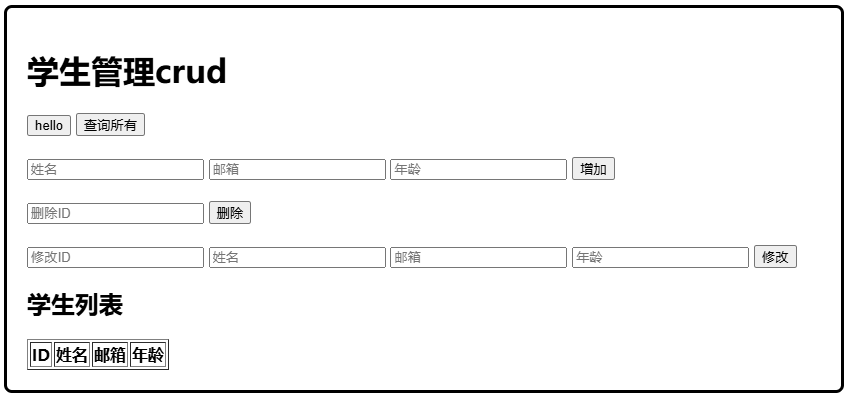
学生管理crud
学生列表
| ID | 姓名 | 邮箱 | 年龄 |
|---|
同时为了避免轰炸滥用,在nginx里加一些限制:
limit_req_zone $binary_remote_addr zone=api_limit:1m rate=12r/m;#12r/m=五秒一次
limit_conn_zone $binary_remote_addr zone=conn_limit:1m;

server {
    location /api/ {
        # 限流规则
        limit_req zone=api_limit burst=1 nodelay;#单ip只能缓存一个请求
        limit_conn conn_limit 2;#单ip同时最多两个连接
        limit_rate 100k;#流量限制
        proxy_pass http://127.0.0.1:8080/;
        ......
    }
}
最后在防火墙中禁止了外部对8080端口的所有入站连接
https://shorturl.fm/e58rT